For adults, the pincer grasp is second nature. You probably use it every day of your life and don’t even notice it! For young children, however, it’s an important developmental milestone that requires intentional practice.
But what exactly is the pincer grasp and how soon should your child be able to do it? We’ll answer those questions here and offer 10 activities to do with your child to promote the development of this skill.
What Is the Pincer Grasp and Why Is It Important?
In the simplest terms, the pincer grasp is when you hold something between your thumb and first finger. To visualize it, imagine you were to pinch something or make the “OK” hand gesture. That’s the basic hand movement, and it is particularly important for picking up small objects and using them.
The pincer grasp helps us use almost any type of small toy or tool, such as Legos and puzzles or markers and silverware. It also allows us to move small or fragile objects like picking up dropped coins, turning the pages of a book, or carefully removing contact lenses. Because the pincer grasp is so widely used in our daily lives, it’s important to make sure your child is learning it at an appropriate pace.

When Should My Child Be Using the Pincer Grasp?
The pincer grasp is a fine motor skill because it requires using the small muscles in our hands. In young children, fine motor abilities are still developing as they improve their physical strength and hand-eye coordination.
Typically, a child will begin to develop the pincer grasp technique at around 9 months old. However, it’s important to remember that all children are different. Some children begin a little earlier and others a little later. If you notice that your child is having significant difficulty after the 10-month mark, you should mention this to their pediatrician. The pediatrician will be able to recommend a plan to get your child heading in the right direction.
Pincer Grasp Stages of Development
The pincer grasp doesn’t develop overnight. There is a process of development that progresses to the final technique.
- First, your child will begin to grasp objects with what’s called a “palmar grasp”. This is when your child first starts curling their fingers around an object to move it towards them. Like the way you would pick up a baseball.
- Second, children learn the “raking grasp”. As the name implies, this is when your child uses their curled fingers to ‘rake,’ or scoot, an item towards them across a surface like a table. Unlike the palmar grasp, the raking grasp does not involve the thumb.
- Third, your child will develop the “inferior pincer grasp”. This technique is almost the full pincer grasp, except your child will use the pads of their thumb and first finger rather than the tips to pick up an object.
The final step of the process is the “superior” or “neat” pincer grasp. This occurs around the 9-month mark and involves using the tips of the thumb and first finger to pick up objects.
10 Activities to Promote the Pincer Grasp
The following activities can help teach your child to properly use the pincer grasp. They are also great ways to practice if your child is already able to do it.
1) Finger Foods
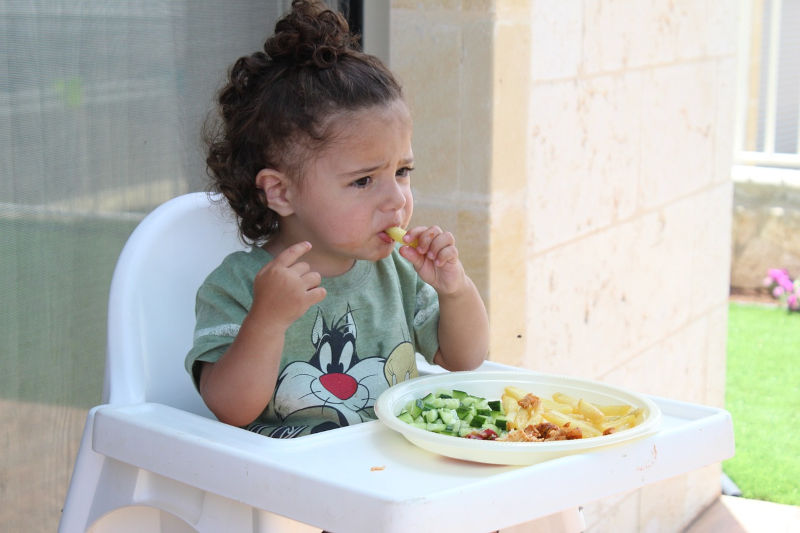
Although most young children already eat with their hands, the way the food is presented to them can affect how they grasp it. To promote the pincer grasp, try offering your child foods that would be slightly difficult to pick up.
For example, feed your child individual peas or thin slices of banana. Space them out so she can’t pick up a handful at once. This encourages your child to pick the food up with the tips of their fingers rather than with a palmar grasp.

2) Playdough
An important part of the pincer grasp is finger strength. Playing with playdough increases grip strength in children as they work the dough into shapes.
Another fun activity with playdough is to hide small objects like toys or shiny coins inside the dough and take your child on a miniature treasure hunt! For safety, be sure to pay close attention if the hidden object is small enough to be swallowed.
3) Puzzles
Puzzles offer a lot of benefits to children’s development, such as problem-solving abilities, increased concentration, and, you guessed it, promoting the pincer grasp!
The relatively small pieces of a puzzle encourage your child to pick them up with the tips of their fingers. Puzzle pieces with knobs on top can help your child if they are in earlier stages of development. Having to place the puzzle pieces in the right location also promotes hand-eye coordination, which is important to properly use the pincer grasp.
4) Blocks
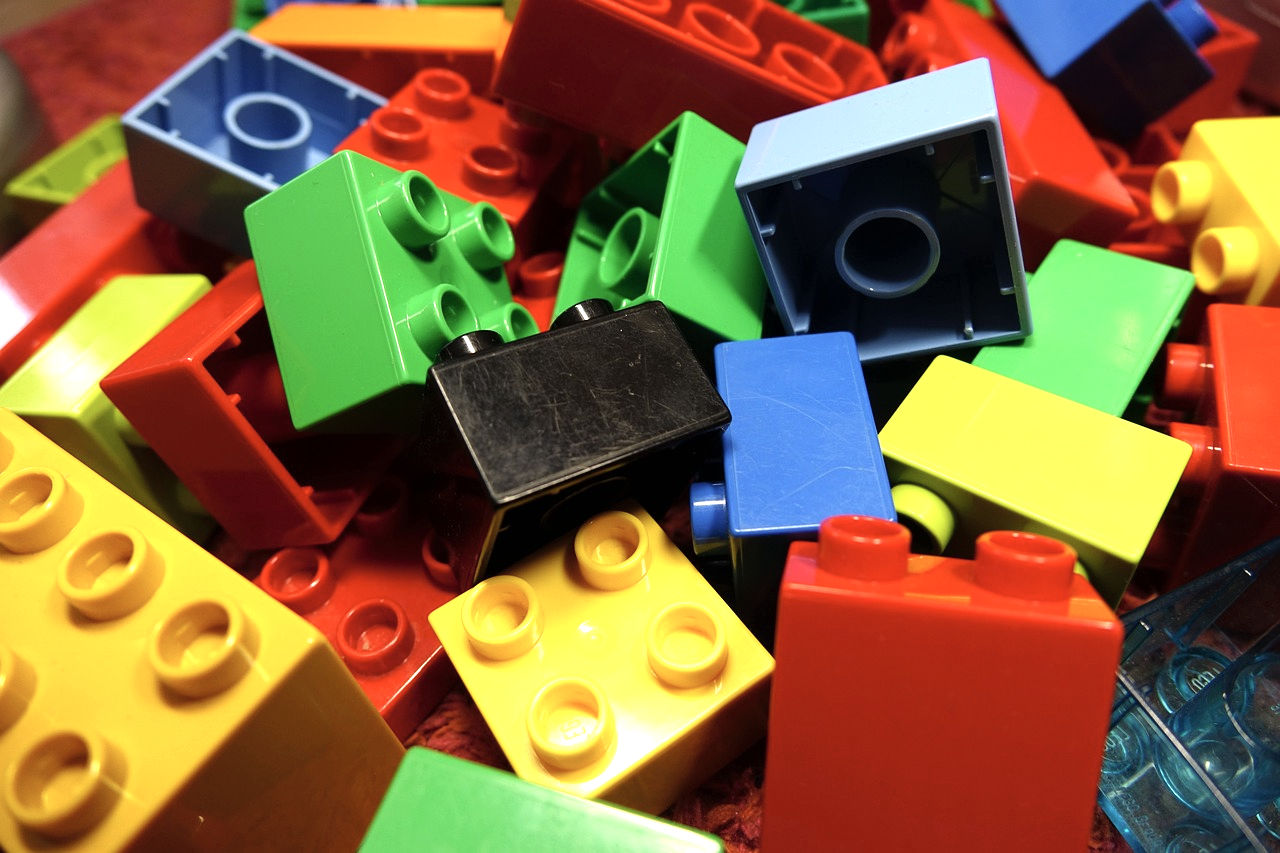
Big blocks (like Mega Bloks) are ideal for children still in the early stages of pincer grasp development, while smaller blocks (like Lego or Lincoln Logs) help children practice the neat pincer grasp.
Try encouraging your child to build the tallest tower they can. This requires concentration and precise block placement so they can train their hands to be careful and deliberate.
But remember, all of these activities are meant to be fun! If your child gets tired or frustrated with too much guidance, it’s probably best to let them play with the blocks the way they want for a while.
5) Gardening
Gardening offers a handful of ways to practice the pincer grasp. And your child will get to play outside and get a little messy!
The following gardening activities are ideal for teaching your child the skills needed for the pincer grasp:
- Using a hand-shovel
- Pulling weeds
- Plucking flower petals
- Placing seeds
- Watering with a hose
All of these activities either directly use the pincer grasp or increase grip strength and coordination.
6) Drawing
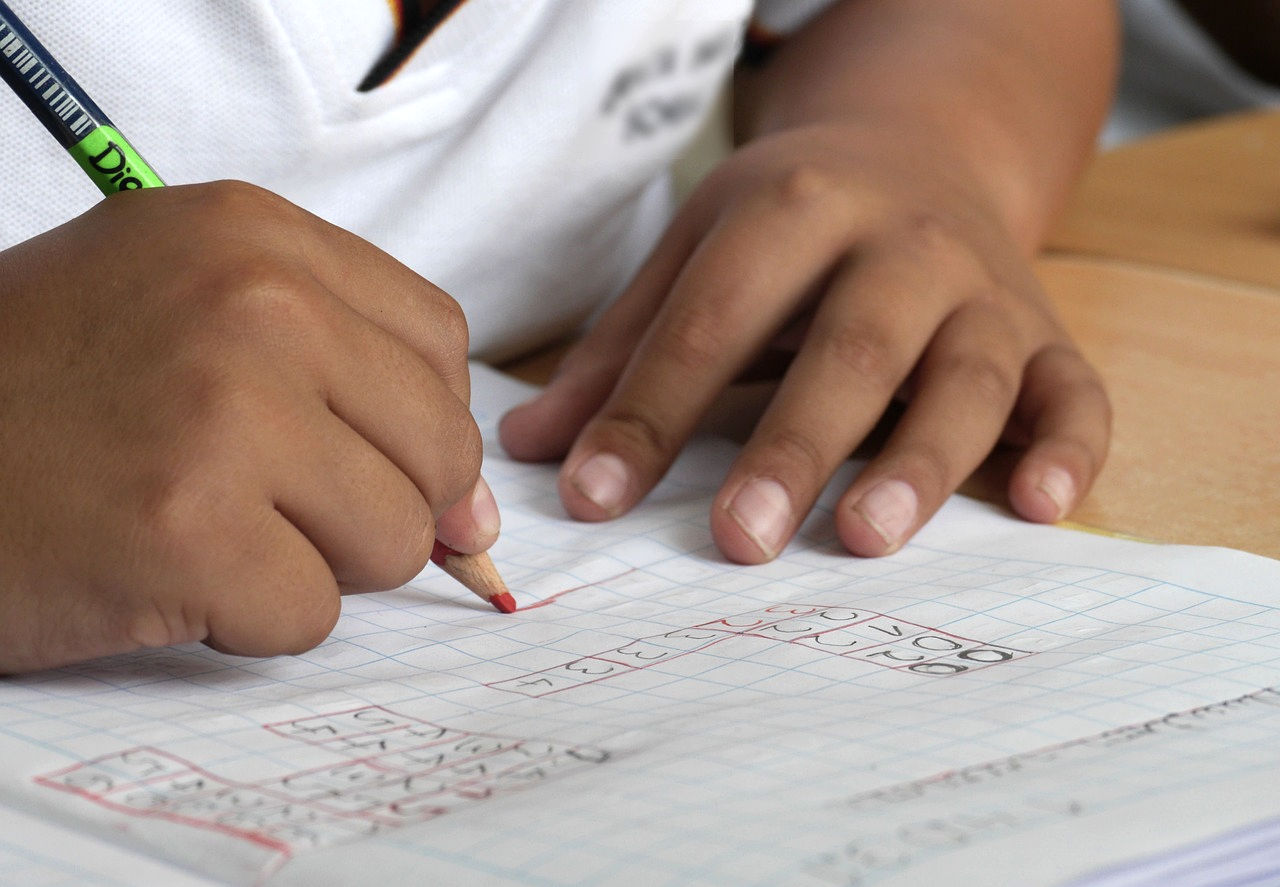
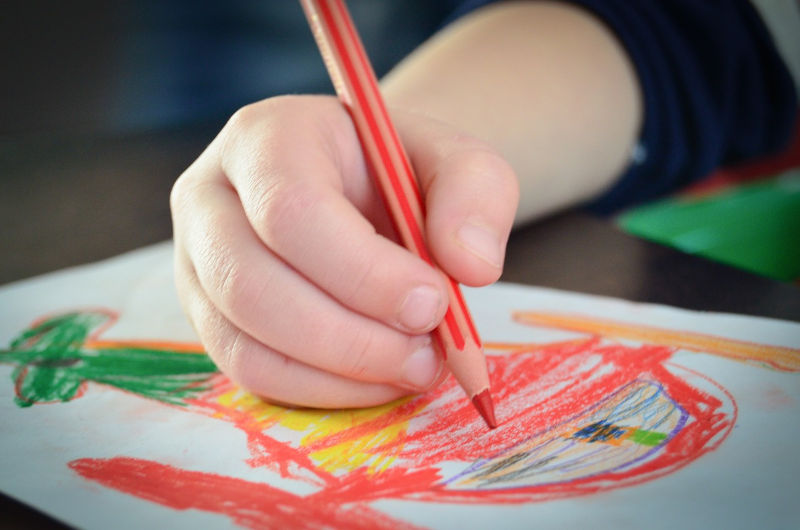
Pens, markers, crayons, chalk, etc. are perfect for promoting the pincer grasp in your child! Holding the small tools to draw will teach your child how to grasp things with precision.
You can also give your child a variety of drawing tools of various lengths and sizes. This will help them learn how to adjust their grip according to the shape of their tool. Ask your child to draw the same thing, maybe your house, with as many different tools as possible.

7) Playing with Stickers
Peeling and placing stickers is a fun way to get your little one working with the very tips of their fingers. You can buy packs of them or even make your own!
If you’d like to shop for stickers, try looking for some based on their favorite toys or characters. They will often come in books that have specific places for your child to stick them. Or you can have your child create a scene on a piece of paper using the ones from the pack.
You can also make your own stickers with your child. Simply buy packs of blank adhesive paper, have your child draw on them, and then cut them out. Now, they have their very own custom stickers to play with. They could even make one that looks like themself!
8) Stringing Beads
Stringing beads have the benefit of promoting the pincer grasp in both hands at the same time. Your child will need to hold one end of the string while also holding the bead to put on it.
Pick a family member to give a necklace to and have your child string beads that match that person’s favorite colors. Or, if your child is in elementary school, they could make bracelets of their school colors to give to friends.
Stringing beads can be a somewhat challenging task for very young children. Try using larger beads and a shoestring for the littlest learners.
9) Sorting Activities
Sorting activities are another great way to accomplish multiple things at once, including teaching your child the pincer grasp and about colors. The task is simple enough but will help your young one with their fine motor skills.
Use something like marbles, blocks, pompoms, or toy cars, and have your child sort them based on color. If you can, give your child different colored bins to put the toys into to help them make the connection.

10) Playing with Tongs
Tongs are an excellent training tool for the pincer grasp. Unlike our hands, tongs only have two points of contact with an object. This will help your child practice being precise when picking things up, and won’t let them “cheat” by grabbing it with their other fingers. Tongs are also great for building grip strength because they offer a little bit of resistance.
Your child can use tongs to do sorting activities, pick up bugs and rocks outside, or even clean up their toys. Wouldn’t it be great if your child was having fun, learning, and cleaning up at the same time?
You could also ask your child to pretend to be a robot with pincer hands and have them do as many of their daily activities as possible with the tongs.
Moving Forward with the Pincer Grasp
The pincer grasp is an important part of your child’s development because it will be so widely used for the rest of their life. And it’s because of this widespread use that it can sometimes get overlooked. It’s almost so common that we forget to think about it.
However, learning about this skill’s importance and having the above activities on hand to teach it, is a great way to keep it in mind. Pay attention to how your child is holding and handling things at home to get a good idea of how they’re progressing. Most children will have no problem developing the pincer grasp technique, but it’s always smart to be aware if they’re struggling.
Properly using the pincer grasp will also be a great help when your child begins school. Children often get frustrated or embarrassed when they can’t do things as well as their peers such as write, draw, or tie their shoes. Making sure your child has developed the techniques to do these well will spare them some anxiety in the future.


