Kids go through stickers fast. Reward charts, water bottles, the back of the couch you’d rather they left alone. Buying pack after pack adds up, so at some point most parents wonder if they can just make their own. Good news: printing stickers at home can be an affordable and fun way to put your child’s own drawings to use.
It’s also one of those projects that sounds harder than it is. You will probably ruin a sheet or two while you figure out the settings. Everyone does. Once you get past that, you can print a fresh batch whenever your kid demands forty dinosaurs by Saturday.
Before you load up the printer, though, it helps to know what you’re doing first. If this is all new to you, skim a quick rundown of beginner printing techniques so you’re not learning the expensive way, one wasted sheet at a time. The basics are simple, and they save you a lot of grief.
What You’ll Need
Not much. A regular home printer, some sticker paper, and a design.
Most people already own a printer that’ll work. If you’re choosing between types, most home users find an inkjet gives richer, photo-quality color for sticker projects, which is what you’re after here. A good color laser can do a nice job too. But if you’ve got an inkjet sitting in the corner, you’re set.
Sticker paper is the part people forget. You can’t just run regular paper through and call it a sticker. Office supply stores and online shops carry sheets made for home printers, usually in glossy or matte. Glossy gives you that shiny, store-bought look. Matte is softer and works well if your kid’s art has a hand-drawn, pastel feel to it. Either is fine. Grab whichever matches the vibe.
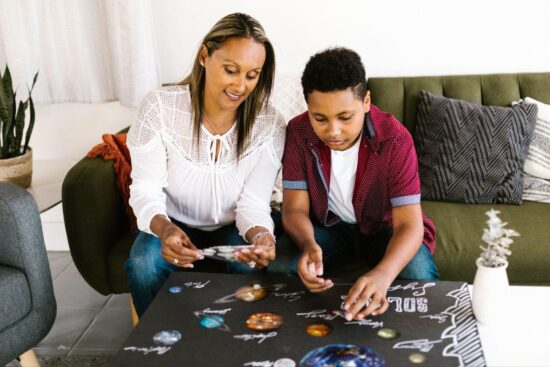
And the design. This is the fun part for the kids. They can draw something on paper and you scan it in, or they can make something on the computer with a free design tool. Doesn’t have to be fancy. Some of the best ones are just a wobbly cat with too many legs.
Getting the Design Ready
Worth thinking about what you’ll make, too. Reward-chart stars, name labels for lunchboxes and water bottles, decorations for a school notebook cover, party favors the kids hand out themselves. The ones they designed always go the fastest.
A little prep saves you here. Sticker sheets usually have free templates on the manufacturer’s site, matched to the product number on the pack. Download that, drop your design in, and line it up with the grid. Leave a thin gap around each sticker so you’ve got room to cut without slicing through your kid’s masterpiece.
Check that the image is sharp before you print. Aim for around 300 DPI, which is the standard for crisp prints. Anything much lower and you’ll see the edges go fuzzy and pixelated once it’s on paper. A scanned drawing usually looks great. A tiny image pulled off the web at the wrong size, not so much.
Printer Settings That Make a Difference
This is the step most people skip, and it’s the one that changes everything.
Open your printer settings before you hit print. Don’t trust the defaults. Check the sticker paper maker’s recommendations for the paper type setting, since the right one depends on the sheet you bought. Some want matte or specialty paper, some want photo paper. In a lot of cases, picking a photo-quality setting along with a higher print-quality mode gives you richer color and sharper edges. It’s slower, sure. But you’re making something your kid wants to keep, not a permission slip.
Turn off any draft or fast mode. Let the printer take its time.
Printing and Cutting Your Stickers
Load the sticker paper so the printable side faces the right way. The packaging tells you which side that is, usually with a small logo in a corner. Get it wrong and you’ll print on the backing, which, well, you’ll only do once.
Run a single test sheet before a big batch. Cheaper to lose one sheet than ten.
Then give it time to dry. Inkjet ink needs about ten or fifteen minutes before you touch it, or you’ll smear the whole thing. This is a good moment to let the kids go do something else while the colors set.
Cutting is where you decide who does what. Simple shapes are easy with scissors, and most kids can handle those with a bit of supervision. For neater edges, a craft knife and a cutting mat work better, but that part’s a job for the grown-up. Once they’re cut, peeling the backing is the kids’ favorite bit. Let them have it.
A Few Things That Go Wrong
You’ll hit at least one of these the first time:
- Colors come out washed out? Your quality setting is too low, or the paper type is set wrong. Quick fix, just re-run it.
- Ink smudging when you touch the sheet means you didn’t give it long enough to dry. More patience.
- Stickers that won’t stay put often just need a cleaner surface, so give it a wipe with a little rubbing alcohol. Rough or curved surfaces and weaker adhesive can be the culprit too.
- Paper jamming? Sticker sheets are thicker than normal paper, so feed them one sheet at a time, especially on an older printer.
None of it is a big deal. You adjust and try again.
Worth a Rainy Afternoon
So that’s the whole thing. Right paper, the right print settings, a bit of drying time, and you’ve got a craft that keeps kids busy without a screen in sight. They get a stack of stickers nobody else has, made from their own drawings, and you stop buying packs that vanish in a week.
Home printing has its limits, and that’s fine. If you need a big batch of matching stickers for a party, or ones tough enough to live on a water bottle that gets washed a hundred times, ordering custom stickers is usually less hassle than fighting your printer all afternoon. For the everyday stuff, fridge art and reward charts and the odd birthday-card decoration, the homemade ones win.
Fair warning, though. Once they realize they can print their own, the requests don’t stop.